Install Lightdash
Don't want to worry about self-hosting? Sign up for Lightdash Cloud for a fully-managed Lightdash instance.
Choose your preferred environment to self-host Lightdash:
- Run Lightdash on your local machine to try out Lightdash for yourself without any collaborators.
- Deploy Lightdash to Heroku with 1-click to get a cloud deployment for your whole team with minimum effort.
- Manually install Lightdash in production to setup Lightdash in your preferred production environment.
Getting set up on Lightdash Cloud
Want to have a production Lightdash instance, but not comfortable with self-hosting?
You can sign up to our waitlist for Lightdash Cloud!
With Lightdash Cloud, you get a Lightdash instance that you can share all your insights with your team and you don't have to worry about any of the setup for hosting the instance yourself. So, if you're not too sure about all of this container, Heroku and cloud-platforms business, or you're just not interested in the overhead of hosting your BI yourself, then Lightdash Cloud might be a good option for you :)
Deploy locally with our installation script
Our installation script is the simplest way to install Lightdash if you only want to run Lightdash on your local machine (that means, you won't be able to share the things you build in Lightdash with anyone else):
Production deployments
For production deployments check the Deploy manually instructions.
info
This script is going to install docker and docker compose. If you want to use a docker alternative, see Deploy manually instructions.
1. Clone the Lightdash repository
Clone the Lightdash code to your local machine. This will create a new directory called ./lightdash (the Lightdash directory).
# Clone the Lightdash repo
git clone https://github.com/lightdash/lightdash
cd lightdash
# A new directory called "lightdash" should appear
2. Install & Launch Lightdash
When running the install script you have two choices:
- Fast install (recommended): will automatically configure Lightdash with sensible defaults. You must host your dbt project on github/gitlab to use this method.
- Custom install: gives more customisation including connecting Lightdash to a dbt project on your local machine.
./install.sh
# follow cli instructions
Deploy to Heroku
Click to deploy the latest version of Lightdash to heroku. This provides a secure, production deployment.
1. Once click deploy to Heroku

Note if you don't have an account, you'll be prompted to signup. It's free to deploy Lightdash!
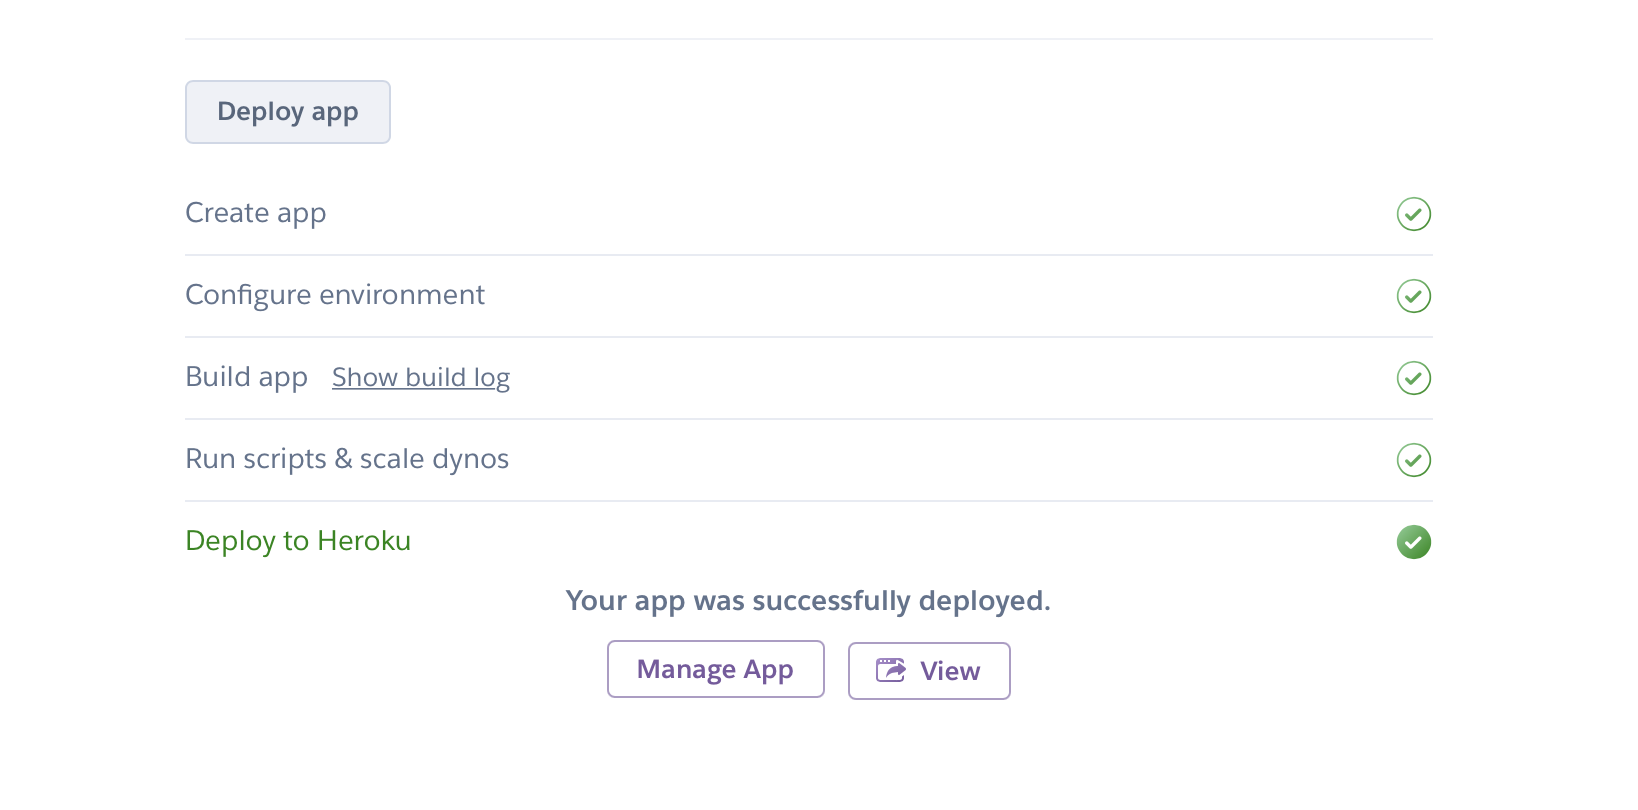
2. Launch Lightdash
Heroku will show that it's setting up and deploying Lightdash. When it's complete you should see an option to view your Lightdash app.
3. Setup your admin account and Lightdash project
As the first user for Lightdash, you'll be prompted to create an admin account to secure your instance. Then, you'll get started with creating your Lightdash project. You can follow along with the instructions for setting up your Lightdash project here: #page to instructions for Lightdash project setup guide
Deploy manually
This is the recommended way to install and run Lightdash in production.
Using docker compose
Lightdash docker compose environment variables:
| Name | Type | Default | Required | Description |
|---|---|---|---|---|
| PGHOST | string | auto generated | false | postgres hostname |
| PGPORT | number | 5432 | false | Postgres port |
| PGUSER | string | postgres | false | Postgres user |
| PGPASSWORD | string | true | Postgres password | |
| PGDATABASE | string | postgres | false | Postgres database name |
| SECURE_COOKIES | boolean | false | false | Secure cookies |
| TRUST_PROXY | boolean | false | false | Trust the reverse proxy when setting secure cookies (via the "X-Forwarded-Proto" header) |
| LIGHTDASH_SECRET | string | true | This is the secret used to sign the session ID cookie and to encrypt sensitive information. Do not share this secret! | |
| PORT | number | 8080 | false | Port for Lightdash |
| DBT_PROJECT_DIR | string | . | false | Path to your local dbt project. Only set this value if you want to use a dbt project from the same machine |
1. Clone the Lightdash repository
Clone the Lightdash code to your local machine. This will create a new directory called ./lightdash (the Lightdash directory).
# Clone the Lightdash repo
git clone https://github.com/lightdash/lightdash
cd lightdash
2. Create containers
LIGHTDASH_SECRET="not very secret" PGPASSWORD="password" docker-compose -f docker-compose.yml up --detach --remove-orphans
Using docker images
info
If you're using podman replace docker with podman in the commands mentioned.
1. Start a Postgres container
# Example data:
# Username: postgres
# Password: mysecretpassword
# Database name: postgres
# Port: 5432

docker run --name lightdash-db -p "5432:5432" \
    -e POSTGRES_PASSWORD=mysecretpassword -d postgres
2. Start Lightdash container
Lightdash environment variables:
| Name | Type | Default | Required | Description |
|---|---|---|---|---|
| PGHOST | string | true | Postgres hostname | |
| PGPORT | number | true | Postgres port | |
| PGUSER | string | true | Postgres user | |
| PGPASSWORD | string | true | Postgres password | |
| PGDATABASE | string | true | Postgres database name | |
| LIGHTDASH_SECRET | string | true | This is the secret used to sign the session ID cookie and to encrypt sensitive information. Do not share this secret! | |
| SECURE_COOKIES | boolean | false | false | Secure cookies |
| TRUST_PROXY | boolean | false | false | Trust the reverse proxy when setting secure cookies (via the "X-Forwarded-Proto" header) |
info
If you want to use a dbt project from the same machine, you will need to set a volume to /usr/app/dbt. Example:
-v ~/my/dbt/path:/usr/app/dbt
# Example data:
# DB Host: 192.168.0.1
# DB Port: 5432
# DB Username: postgres
# DB Password: mysecretpassword
# DB name: postgres
# Lightdash secret: not very secret
# Lightdash port: 8080

docker run --name lightdash-app \
    -e PGHOST=192.168.0.1 -e PGPORT=5432 \
    -e PGUSER=postgres -e PGPASSWORD=mysecretpassword \
    -e PGDATABASE=postgres -e LIGHTDASH_SECRET="not very secret" \
    -p 8080:8080 \
    -d lightdash/lightdash:latest